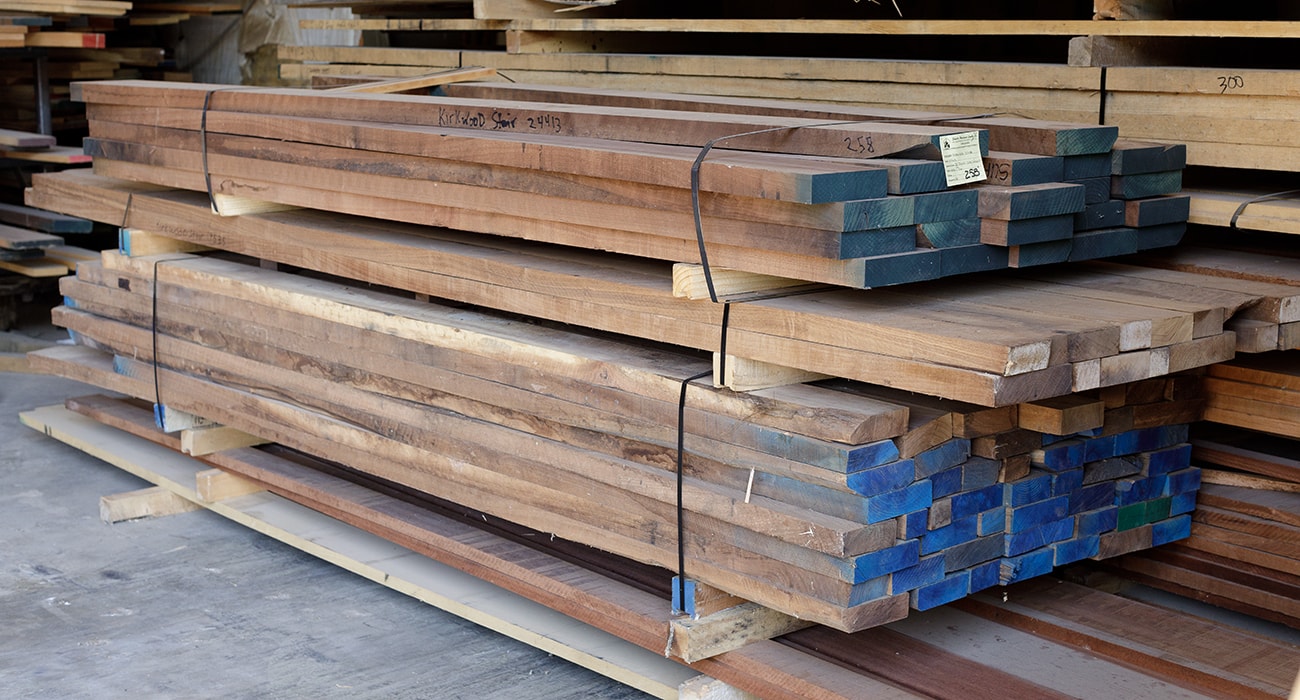
Starting with select grade walnut lumber, wood was hand-selected for width and color match.
Continue scrolling to the right to see the whole process >
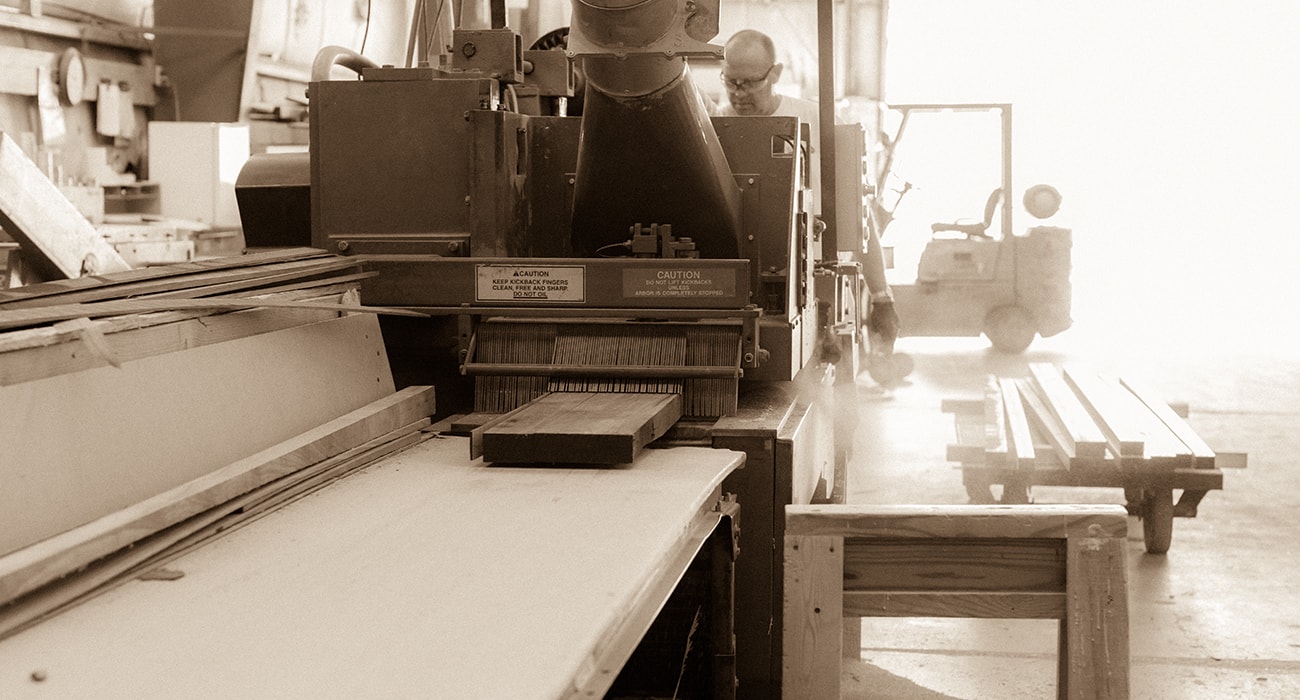
We sent the raw lumber through our Gang Rip machine to prepare the edges for laminating, and marked the boards for defects, knots, checks, and cracks.
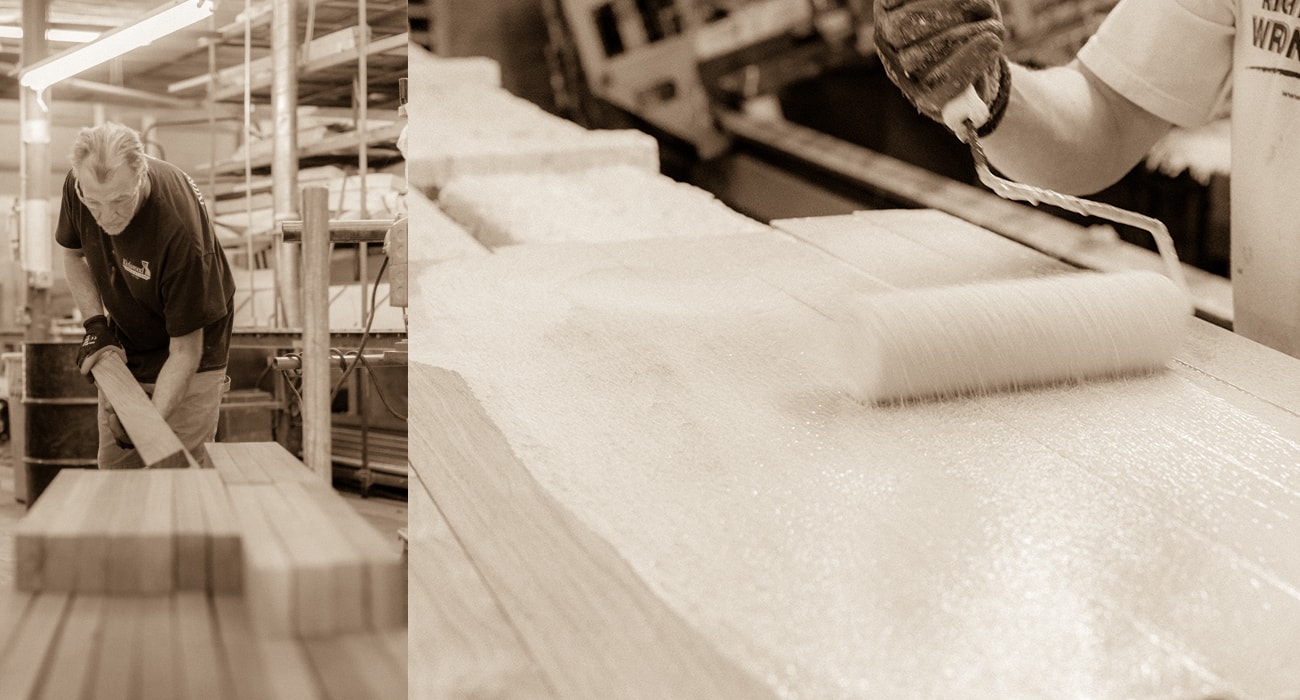
Next, we sorted the defected pieces for color, and then we applied glue to the edges of the boards and arranged them for width to best match the finished size.
We carefully looked at the grain of each individual board, and alternated the faces up and down to give the countertop stability and strength.
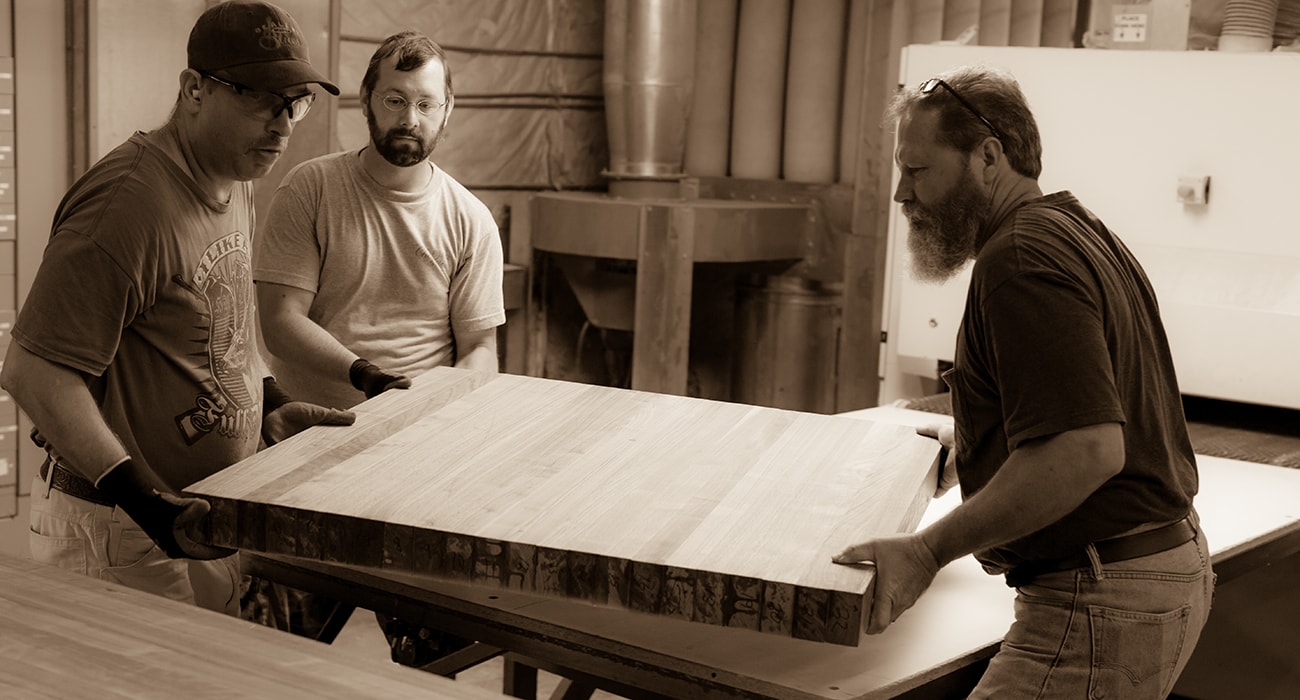
After the glue was set, we transfered the countertop to the planer or wide belt sander to be flattened and smoothed.
This sander has three different heads used to rough sand, medium sand, and finish sand the countertop. The numbers located on the ends of the boards are used to indicate proper layout and sequencing from first selection to final assembly. Notice that the sequence has changed slightly. Boards are thoroughly inspected during each process and this new sequence was chosen for the best color and strength for this assembly.
This demonstrates the attention to detail we put into every countertop, at every process.
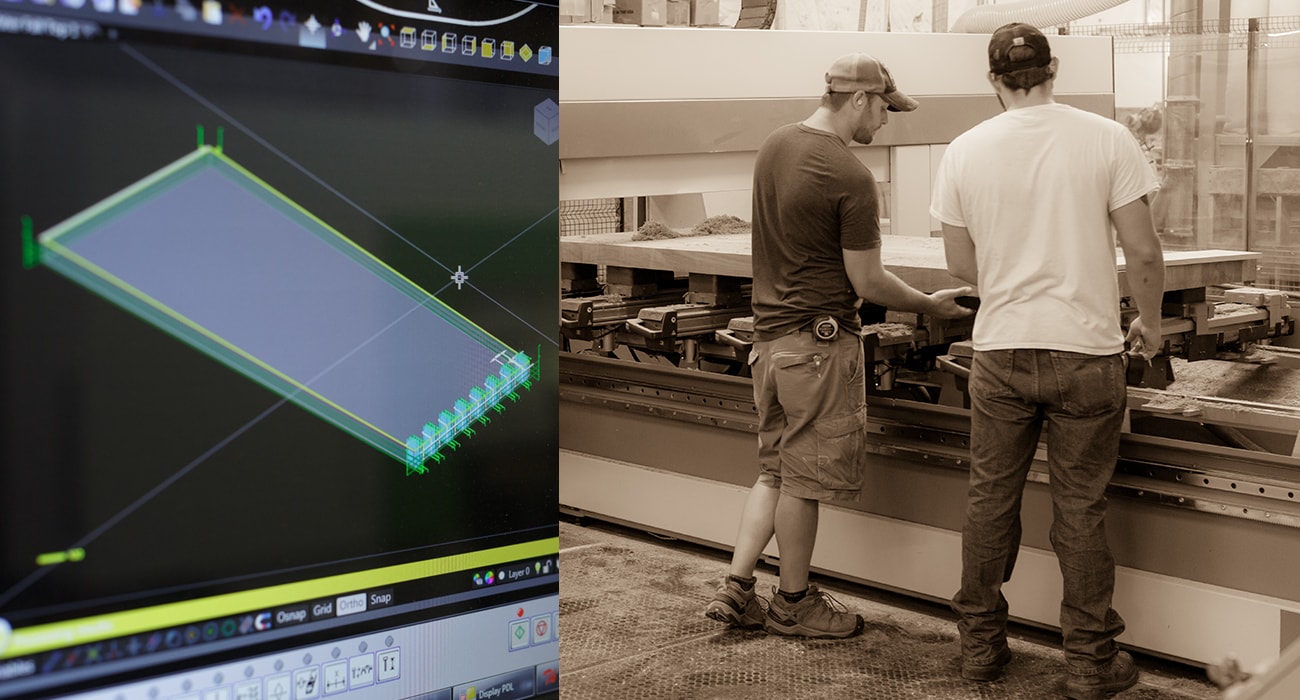
After rough sanding and flattening, the countertop was ready for final milling on the CNC router machine.
We prepared the 5-axis CNC router machine for layout by downloading the programming information from the Engineering department.
Following precise milling on the CNC router machine the dovetail joint was assembled, creating the waterfall look.
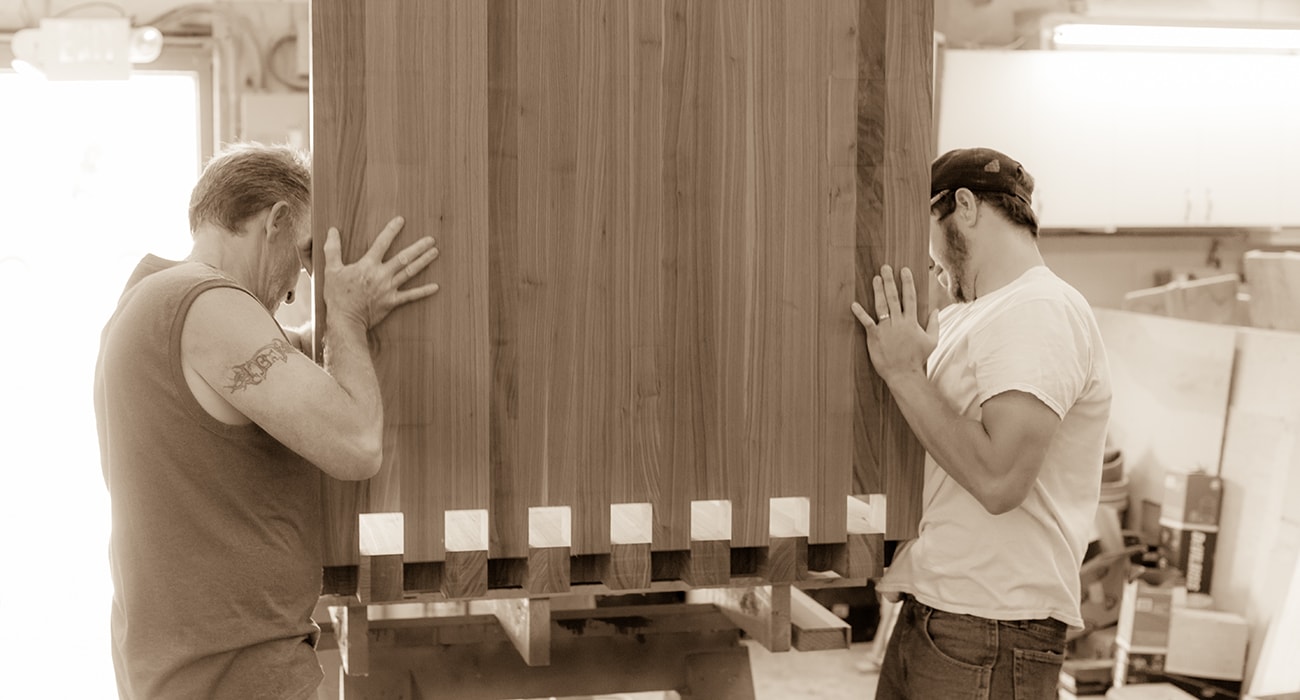
Following assembly of the dovetail joint, the finishing process began. The finish product applied depends on the application of the top and how it’s being used in the home. At this point, we also determined whether a stain or natural color was to be applied. Following the selection of the countertop finish, we prepared the finish spraying process.
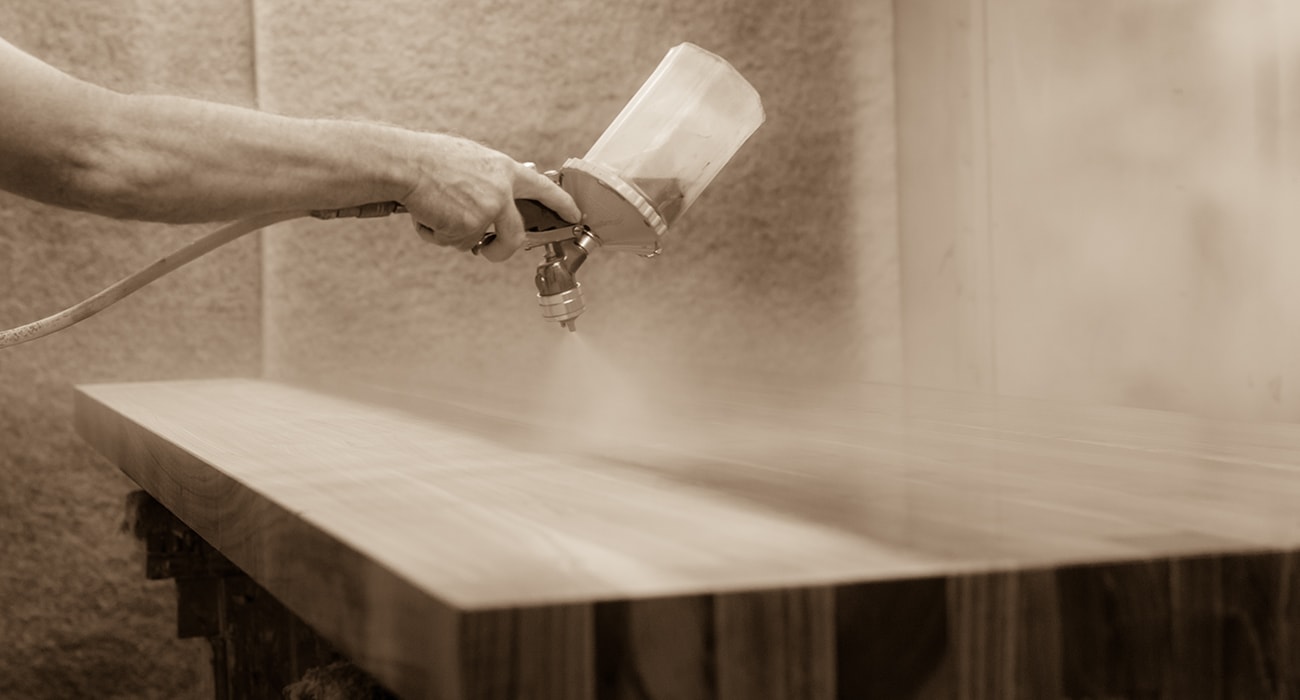
We sealed the countertop on all six sides – top, bottom, edges, and ends – which is critical to stabilizing the countertop with the changing environs in a home.
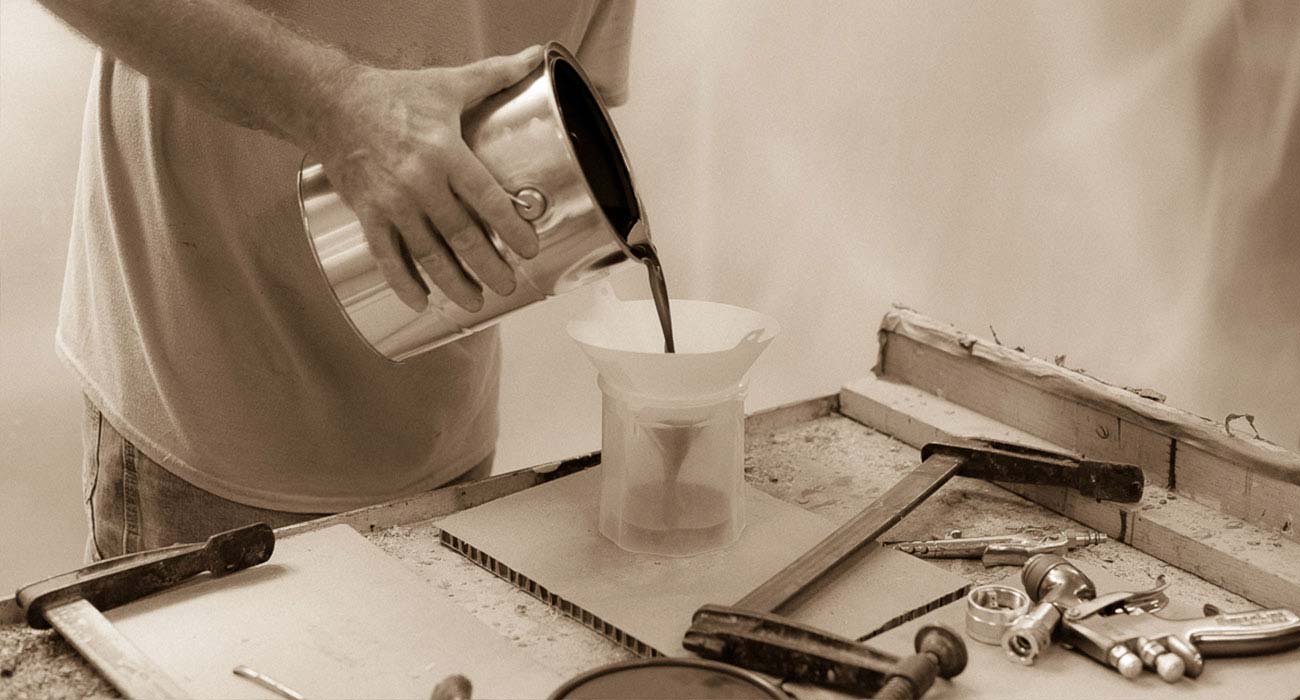
A coat of clear, natural Tung Oil was applied to the countertop. After the finish was applied and dry,
the countertop was carefully wrapped and shipped to the job site for installation.
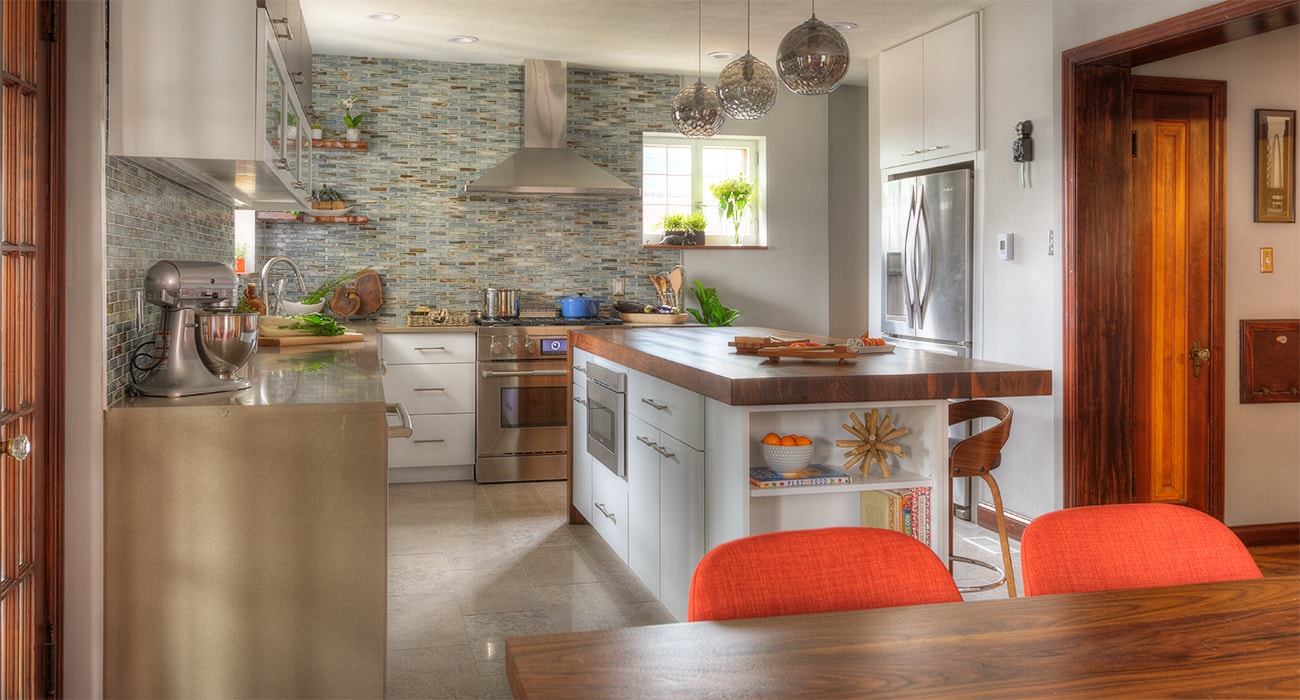
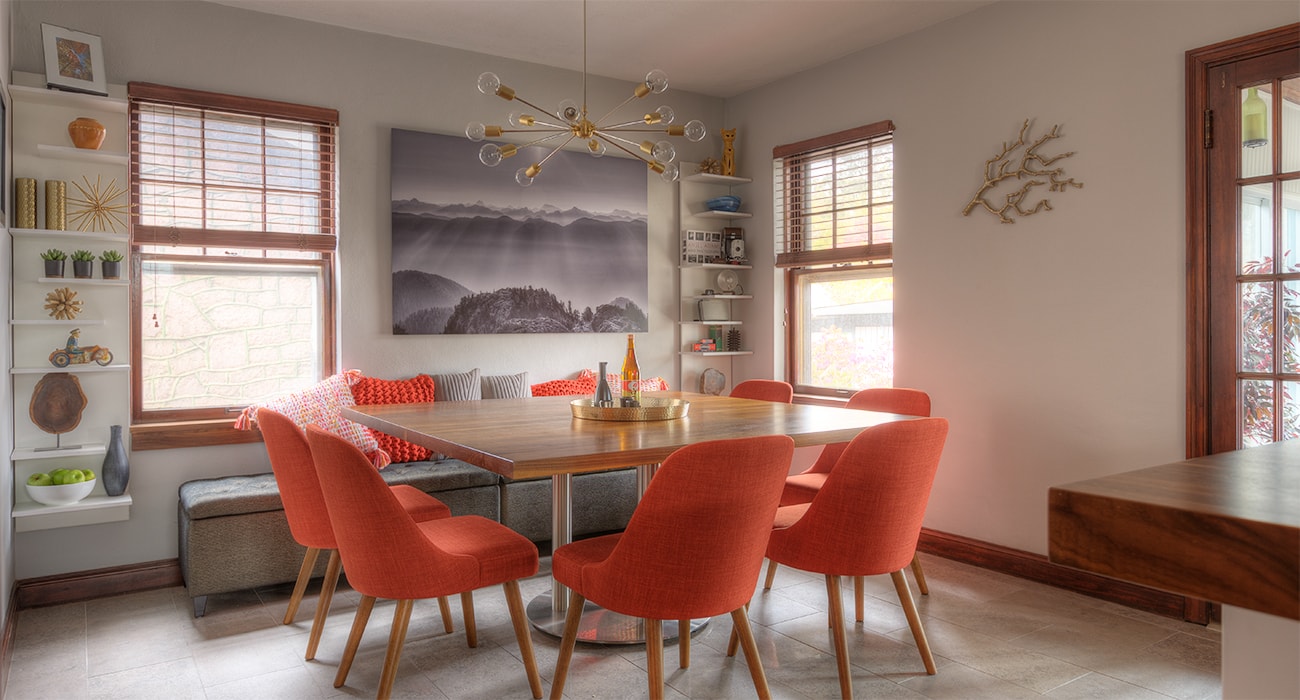
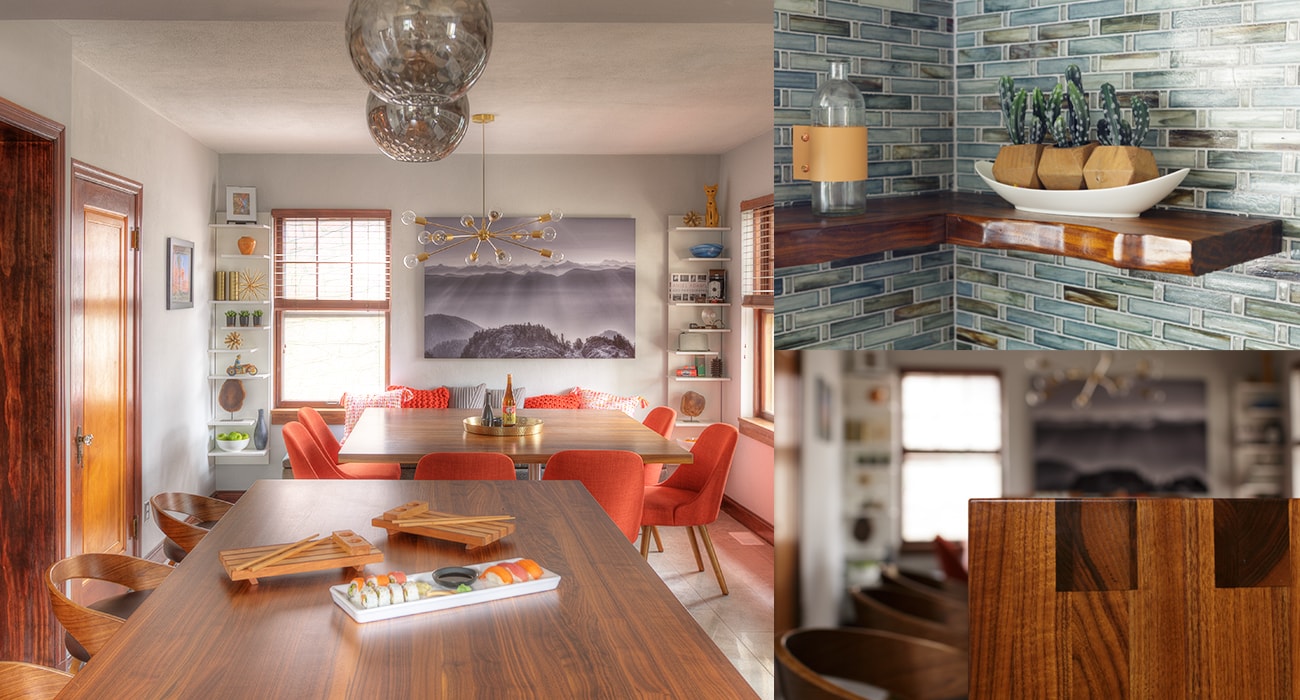
Here is the custom island countertop, table and shelves installed. The custom walnut island countertop beautifully compliments the cabinets, trim, and existing woodwork.
The shelves provide a wonderful, organic counterpoint to the kitchen's clean, modern lines.
